Archives for Mar,2018

You are browsing the site archives by date.

How to Publish 3D Point Clouds to Mobile Devices and Web Browsers

This short tutorial shows how to share 3D point clouds using potree.org, an open source web tool. Potree Converter converts .las, .laz, binary ply, xyz or ptx files to a format file readable for web browsers.

Steps:

  1. Download Potree Converter and extract the .zip file anywhere ie.
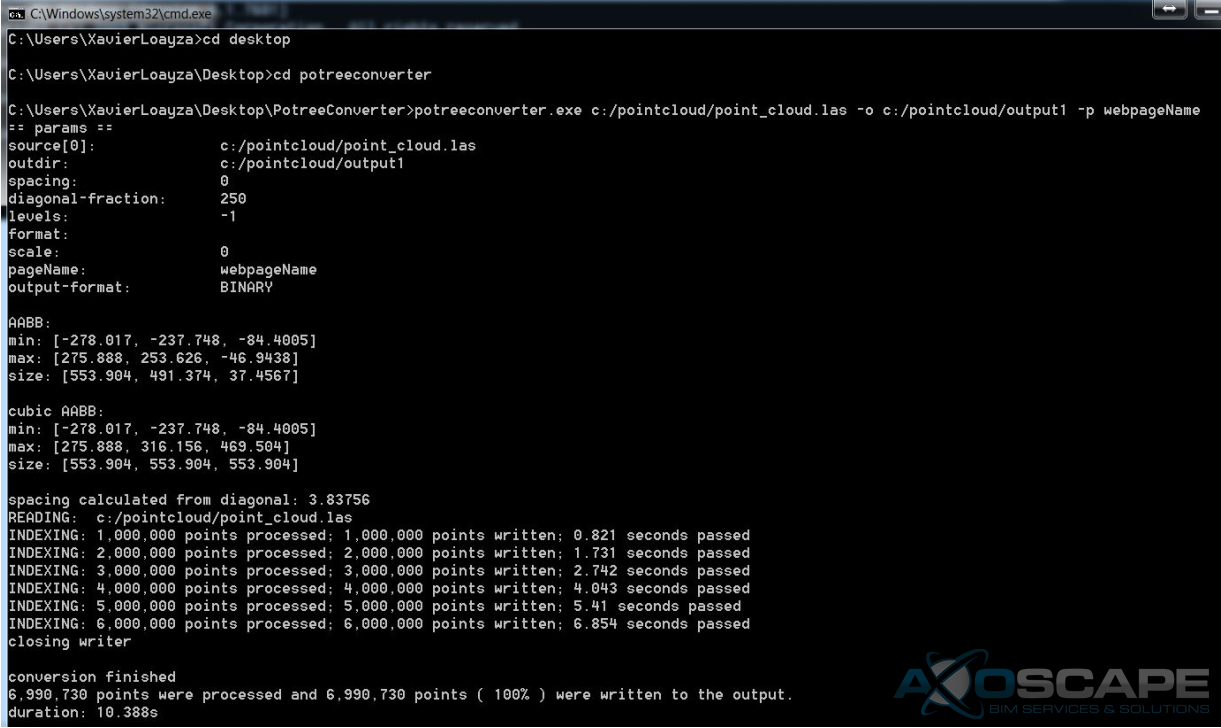
    C:\Users\<USER>\Desktop\PotreeConverter\
  2. Open cmd to run PotreeConverter.exe
  3. You are going to see this when it finishes processing
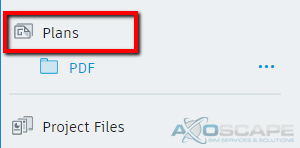
  4. This is the output folder Potree just created
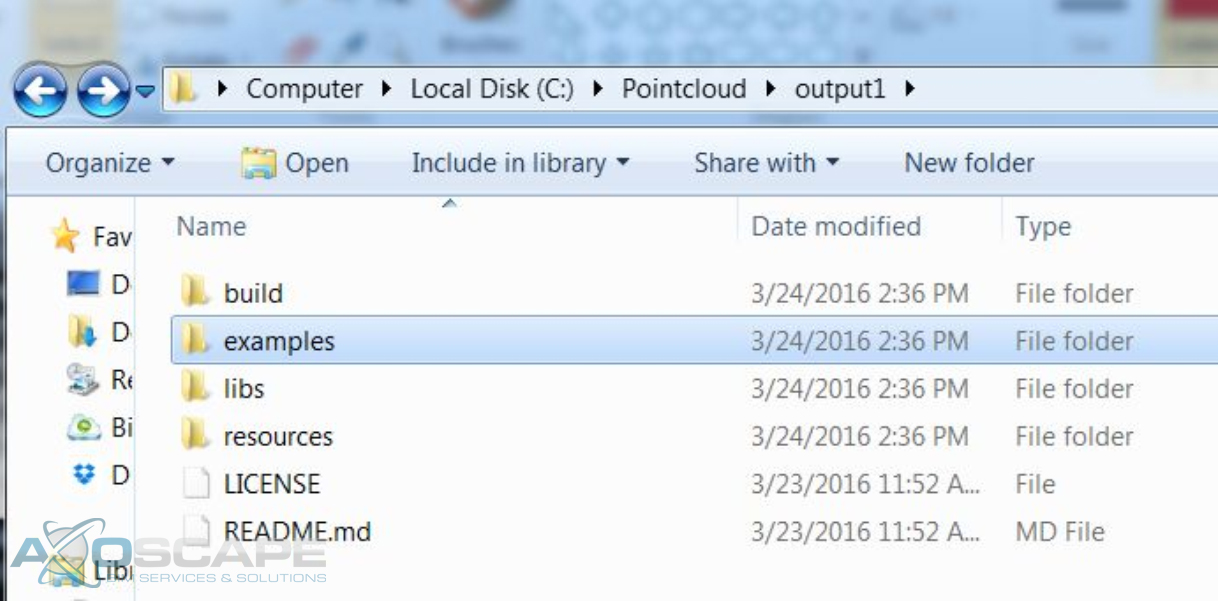
  5. If you desire to visualize it as a local file, you are required to create a local server from where you can read the .html file inside the “examples” folder. There are two ways to create a local server: using Python or XAMPP
    http://gisdeveloptest.blogspot.com/2015/10/potree-getting-started-tutorial.html
    https://github.com/potree/potree/blob/master/docs/getting_started.md
    You will have to move your output folder (“output1” in my case) to where the local server is set up.
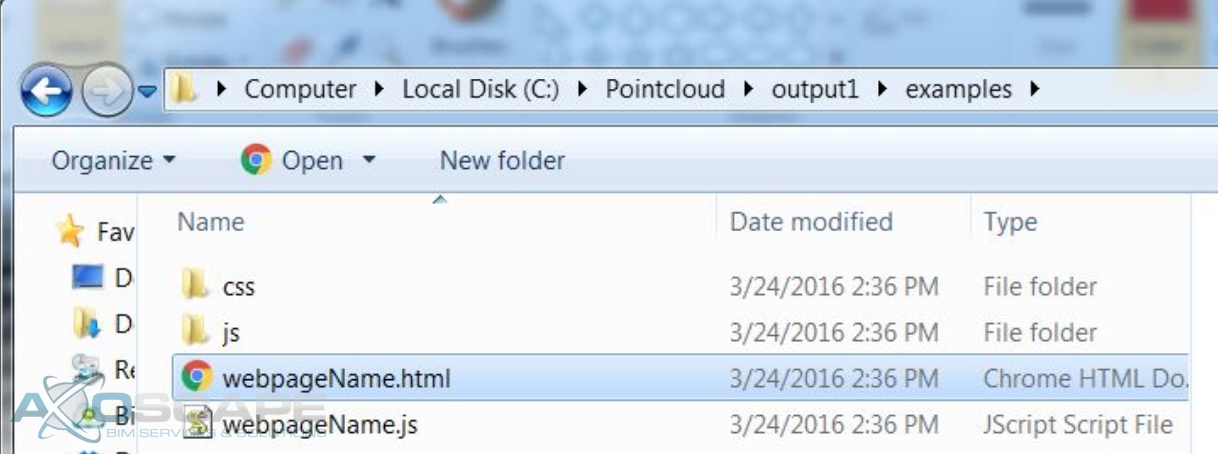
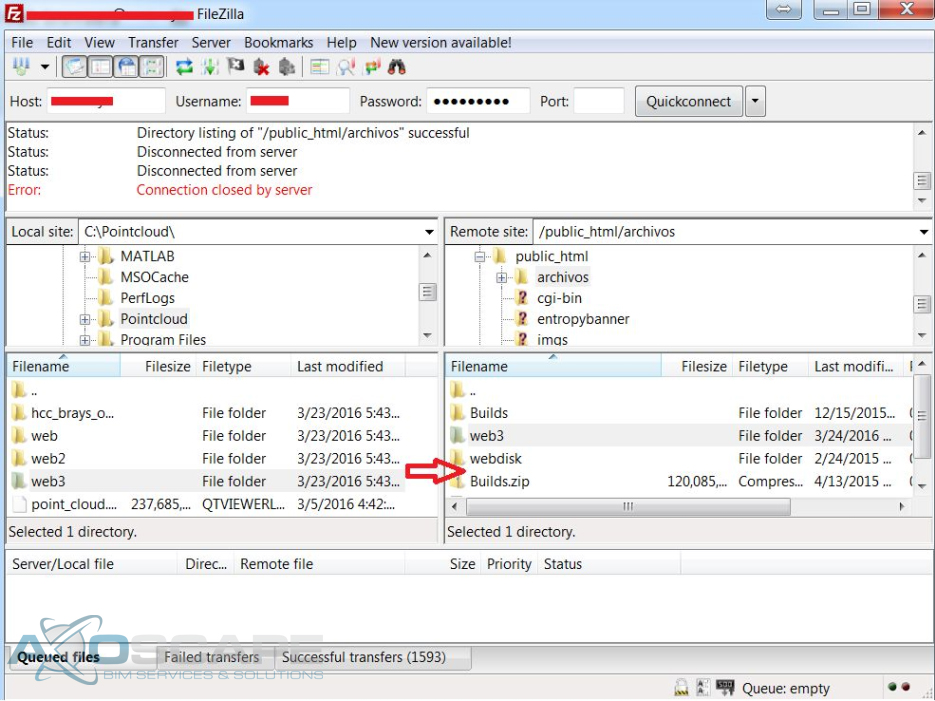
  6. On the other hand, we can just upload our output folder to your website or web host. We could use FileZilla to transfer the files.
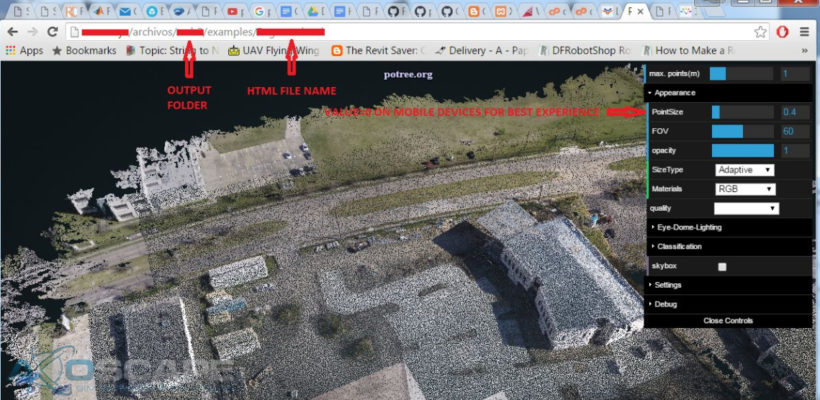
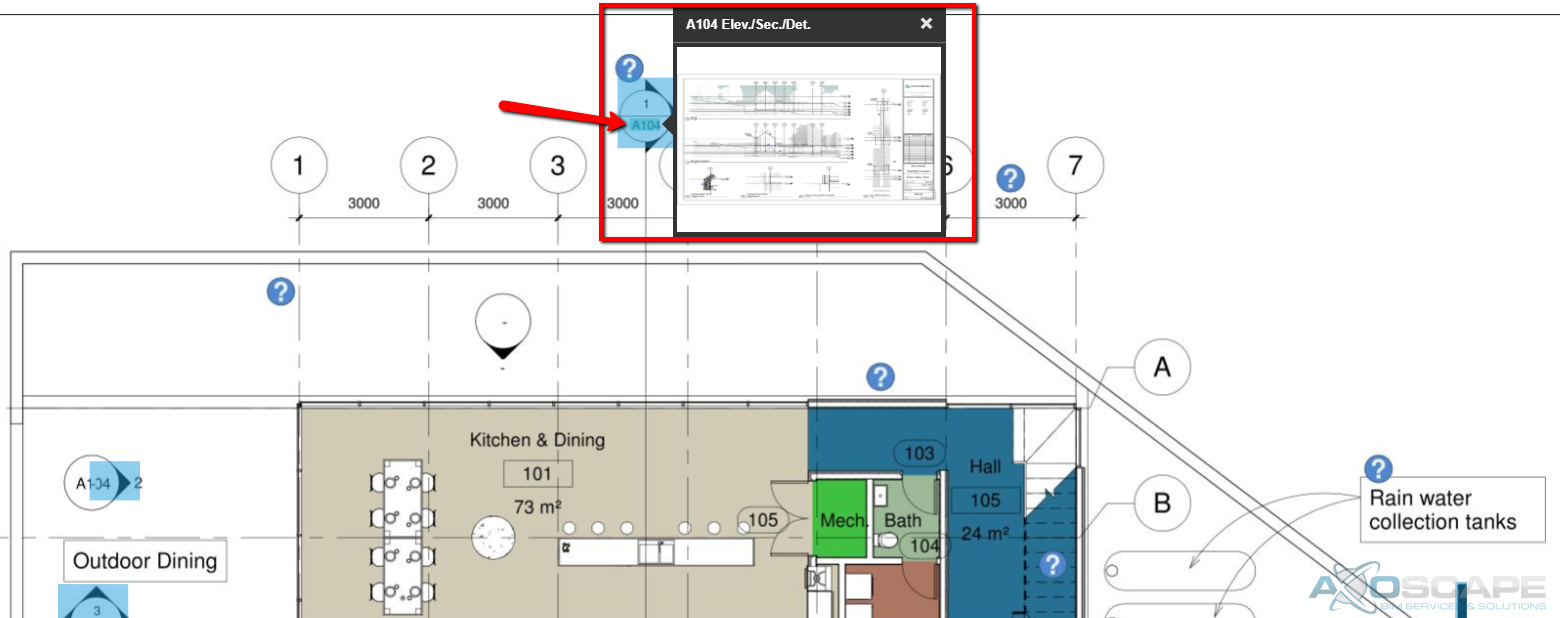
  7. This is the final view:

    Download the printable version here:
Read More

How to Save Time Creating Type Catalogs in Revit

Why spend hours and minutes trying to create a million different types when it takes a few minutes to create a type catalog.  Not that many users really apply this method, but it’s very useful and easy.

  1. Select a family with all the parameters that vary.
  2. Export family.

  3. Edit txt file that is generated.
    The txt file will have one long strand of text and it can be a little confusing to understand at first. The file will contain all the parameter names, all the types that were created(before exported), and all the input to the parameters. Here is how it is broken down.
  4. The beginning of the strand indicates the parameters that are built in the family. After each parameter, there will be a “,” to divide them.

  5. After all the parameter names, the “Type name” will start off the next portion of the strand followed up by the parameter input(same order as the parameters are listed above).

  6. The most efficient way to write all the different charts is a spreadsheet. It’s easier to read and understand what value corresponds to which parameter.

  7. Once all the values are plugged into the chart. Select all the Type and parameter cells and copy/paste back to the txt file like so. Delete the space and replace with commas.
Read More

OCR for Construction Documents (part 1)

In this tutorial, we want to explore how to upload Sheets to BIM 360 Docs and extract some data from them by recognizing text within the title block. Extracting data from sheets might help to link our construction documents better. As we know, we could even get that data without printing by just plugging some Dynamo nodes getting parameters of the sheets. However, the intention of this article (and hopefully a series of them) is to explore some OCR tools and computer vision for object detection. We will see how that goes…

In the meantime, we will use BIM 360 Docs and try to get the best of it. The following animation shows the process of uploading a set of documents to Docs.

  1. Upload pdf to a folder inside the “Plans” section because this section breaks down PDF, RVT, and DWG files into views and sheets. On the other hand, the “Project Files” section can take any type of files like BIM 360 Team, but it will not do OCR on sheets. It will serve as a storage hub which includes viewers.
  2. Extract information by using a Layout Template. If this a new set of sheets, the user will have to select the title block area where the information is. Also, the user will have to specifically select the area the sheet number and sheet name is in the title block. The tool is assuming the set of sheets have the same size and the title block is in the same position.
  3. Publish the sheets after reviewing the documents and the data extracted from them.

It will take a couple of minutes to process in the background, but you will also receive an email while is ready to view. After this process, the attributes extracted will show up as columns and also, any view reference will be available as hyperlinks that allow jumping from sheet to sheet as long as they are under the same folder.


Add more attributes to your sheets!!!
It is possible to select more fields by adding more attributes. This could serve to sort your sheets by a custom attribute aside from sheet name and number,  but also to extract more important data. See the animation below.

Read More