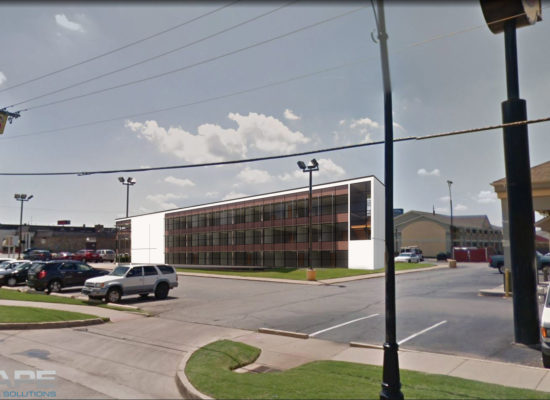
In this article, we’ll be going over how to camera match the perspective of an image using Enscape. This workflow should allow you to much more reliably camera match an Enscape building to an existing photo.
I want to note that I will not be diving too deep into Photoshop techniques in this article. The focus will be on how to match the perspective to Enscape’s camera and how to export images required for a superimposing workflow.
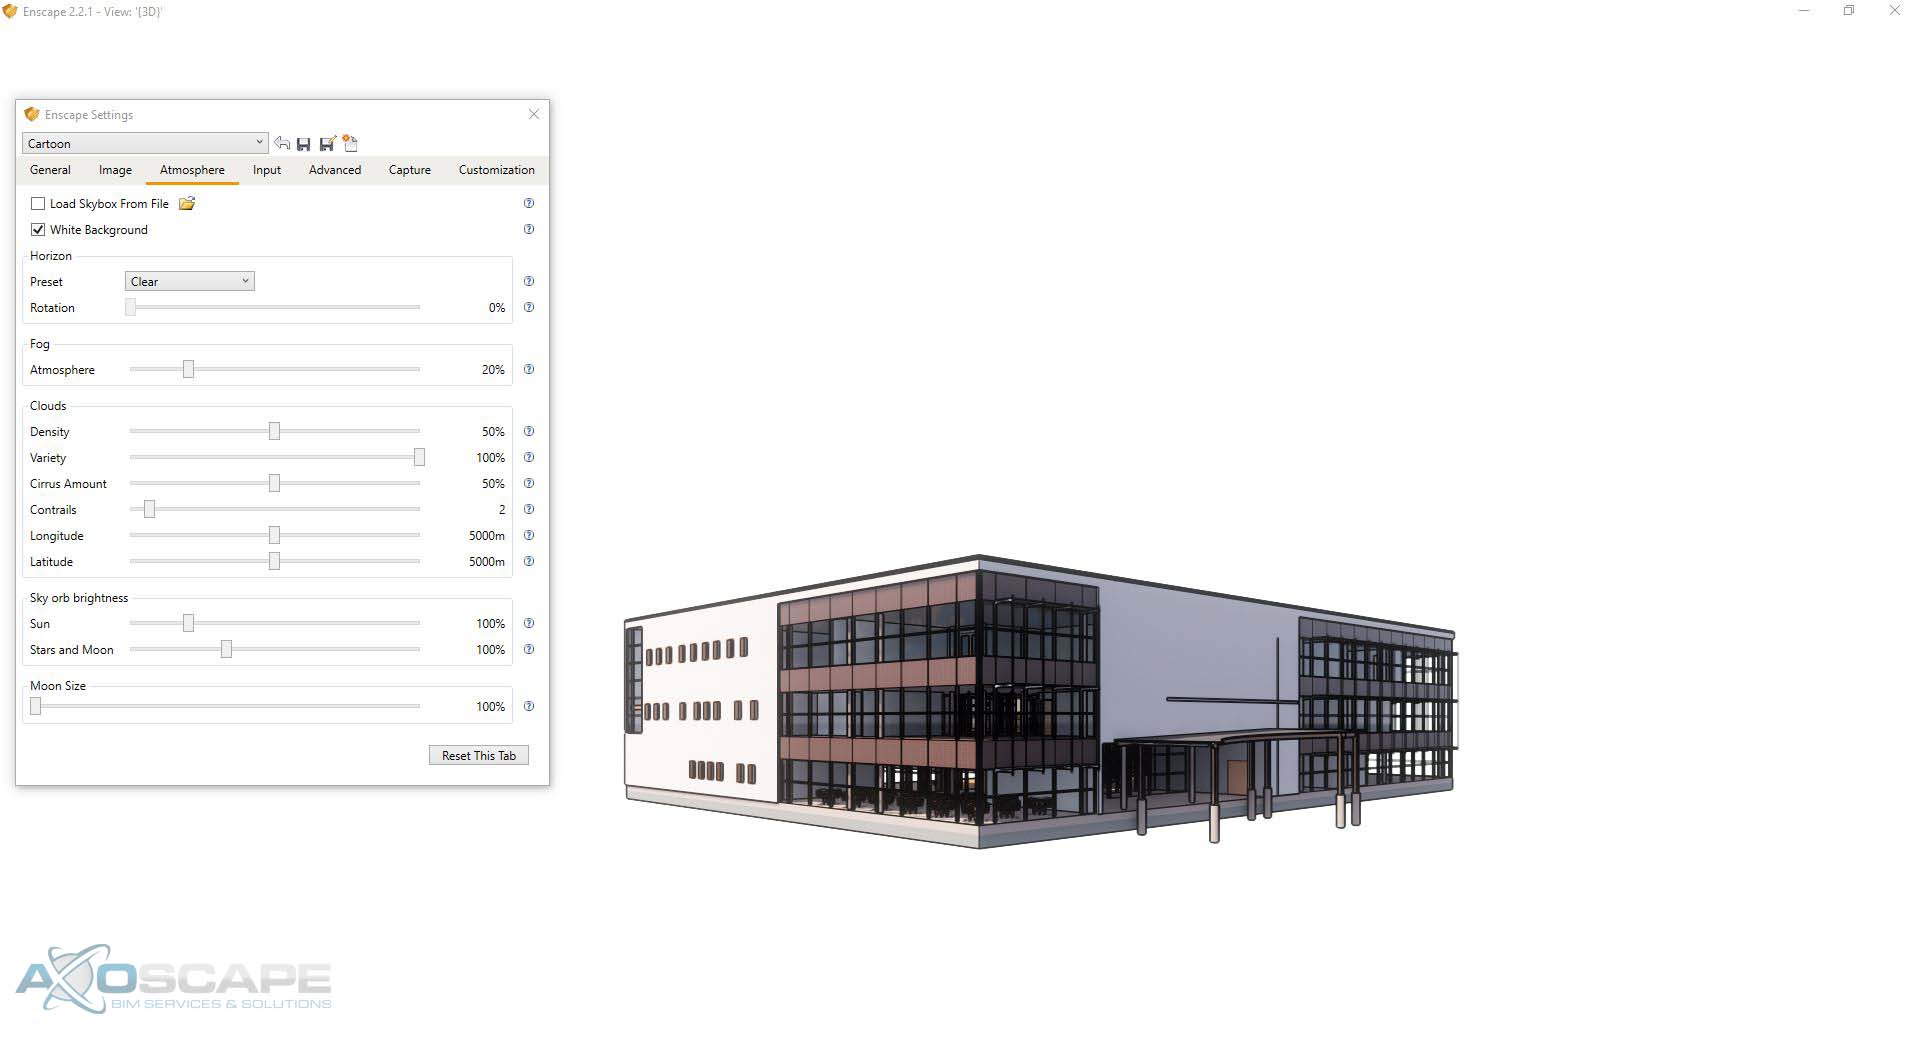
Before loading Enscape, I recommend creating a separate 3D view in Revit, hiding all elements and items that are not building related. The goal here to have the building completely isolated.
Here are the settings I used in order to completely remove any non-essential Enscape items from the scene.
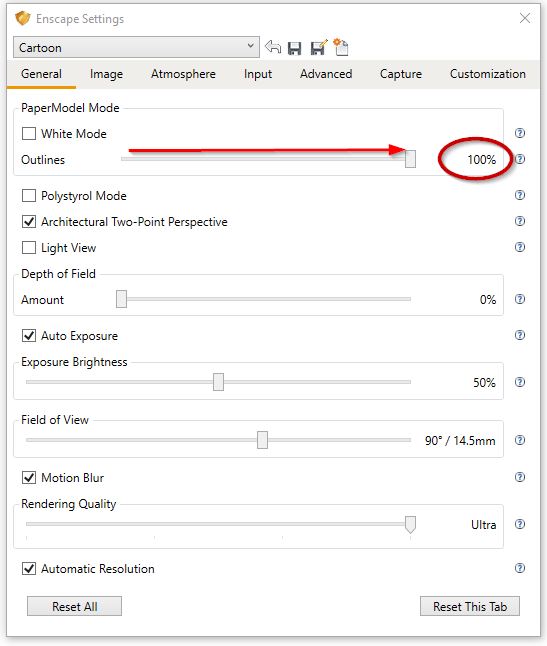
Also, it is extremely helpful for the purposes of perspective camera matching that outlines be at 100%. This will provide a clear outline of your building.
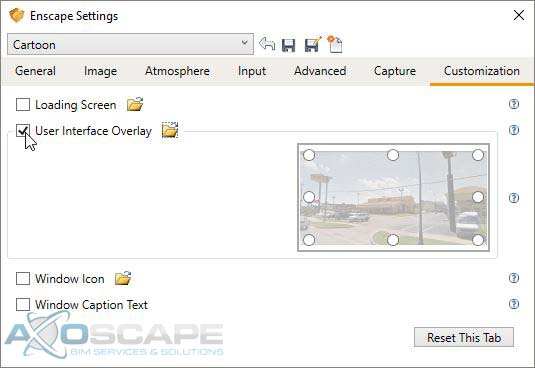
In order to begin camera matching. We’ll be taking advantage of Enscape’s User Interface Overlay feature in the Customization tab in the settings. But before we can use any image as an overlay, the image will have to be modified in order for it to be semi-transparent.
![]()
Load the background image into photoshop.
Unlock the layer by simply clicking on the lock icon in the background layer.
![]()
Once the layer has been unlocked, adjust the opacity slider to around 30%.
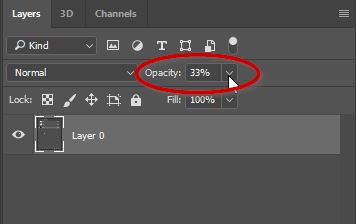
Your image should look like mine above. Where there is a checkerboard pattern brought through the image. The checkerboard won’t be apart of the image, it only serves as a visual representation of how transparent an image is.
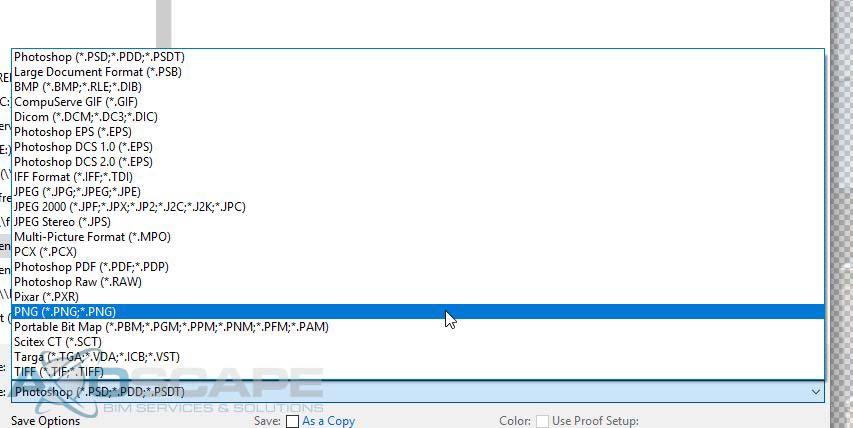
Now all that’s left is to save the file…
IMPORTANT
The file must be saved as a PNG for this to work. Do not save this as a jpg or the transparency data will be lost.

Now back in Enscape, return to the customization tab under “Enscape Settings” and click on the checkbox next to the “User Interface Overlay”. Now click on the folder icon and select the background PNG image we just created earlier.

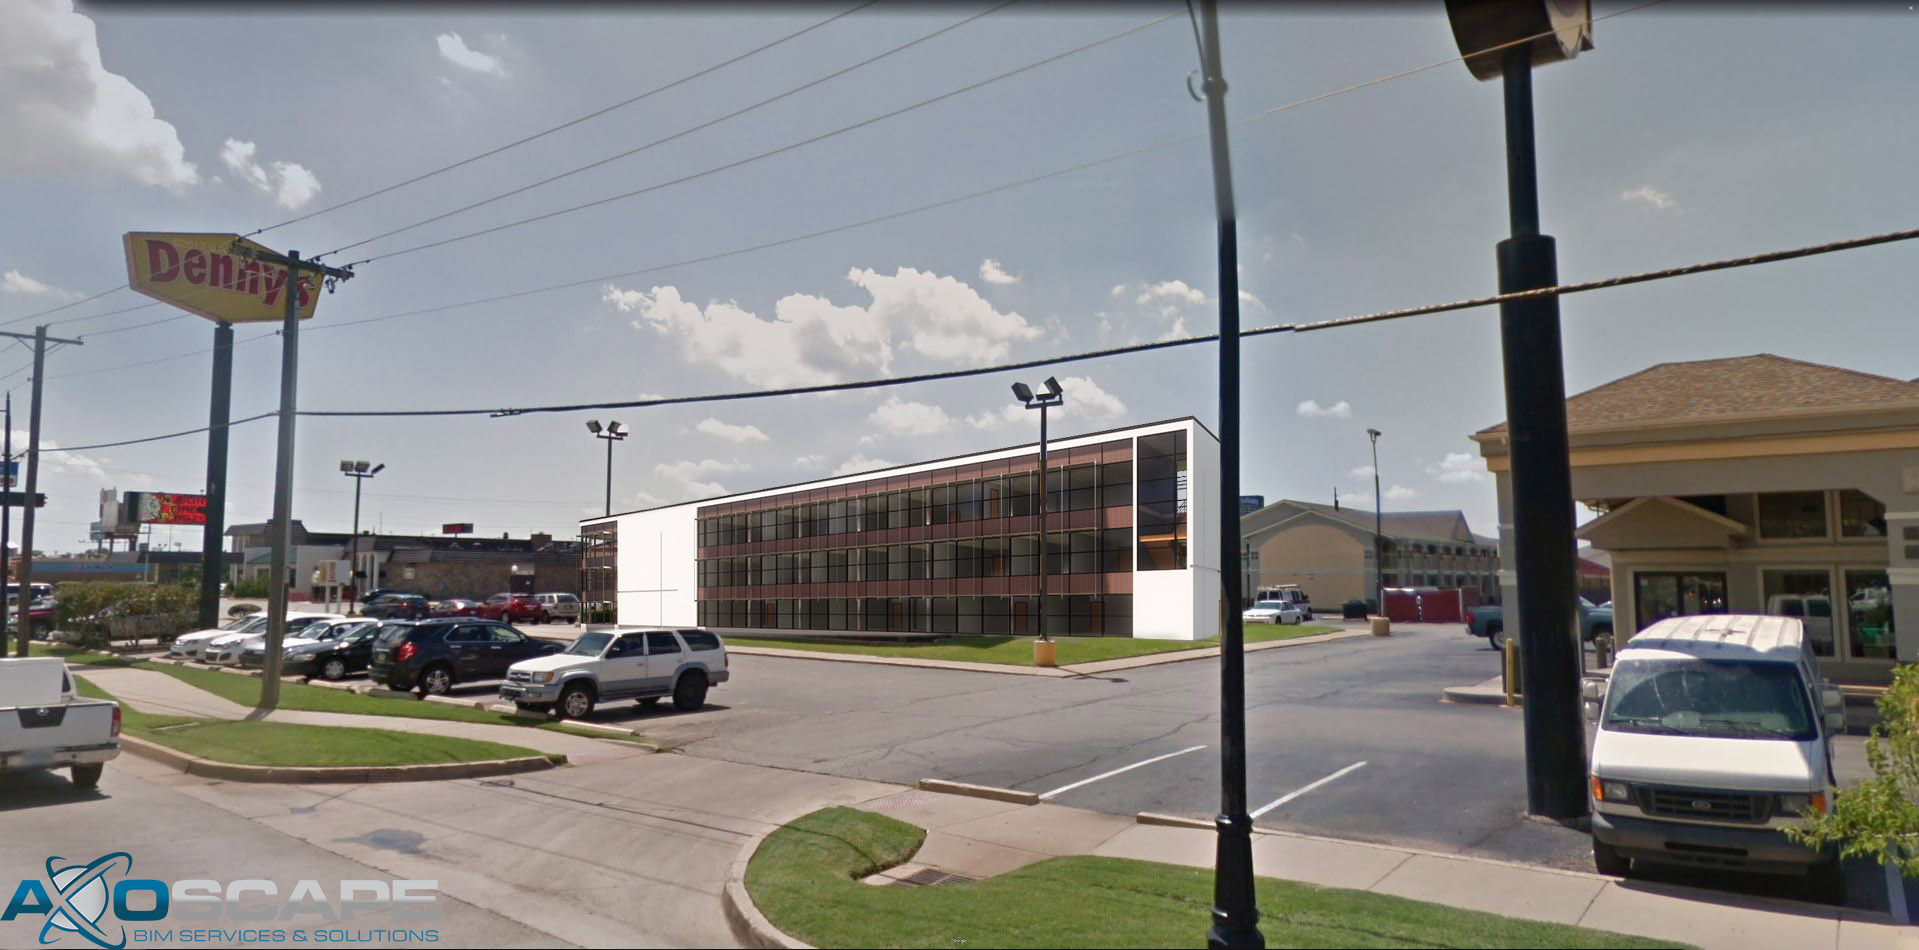
The Enscape viewport should look similar to the animated GIF above. Where a fixed non-moving transparent image is overlayed the 3D Enscape scene. Start navigating around the building until the building angle’s line up with the photograph. Once finished go back to “Enscape settings” and uncheck the “User Interface Overlay”.
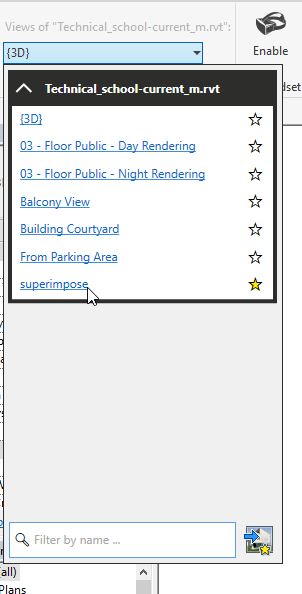
Once the perspective matches the photo. I strongly recommend saving your camera’s view by creating a view to save your Enscape camera settings. 
It is equally important to lock that 3d View So there are no accidental camera adjustments in Revit.![]()
This should act as a save point that you can return to in case of any camera movements.
The next step is to edit your settings for an optimal image. If there are accidental camera movements you can return to your previously saved perspective by selecting it in the Enscape Active Document rolldown menu.
All that is left to do is to export the building image from Enscape into Photoshop.
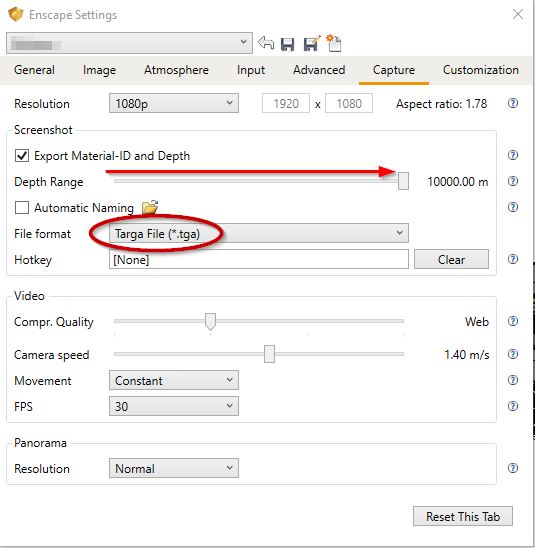
Exporting the images is a 2 step process. In the Capture tab of the Enscape Settings. Click on the Export Material-ID and Depth checkbox so Enscape produces an image that can be used as an alpha channel. It is important to push the Depth Range all the way to the right in order for this to work correctly. I like using the Targa file format when dealing with images that are about to be processed. PNG could be used as well but old graphic design habits die hard.
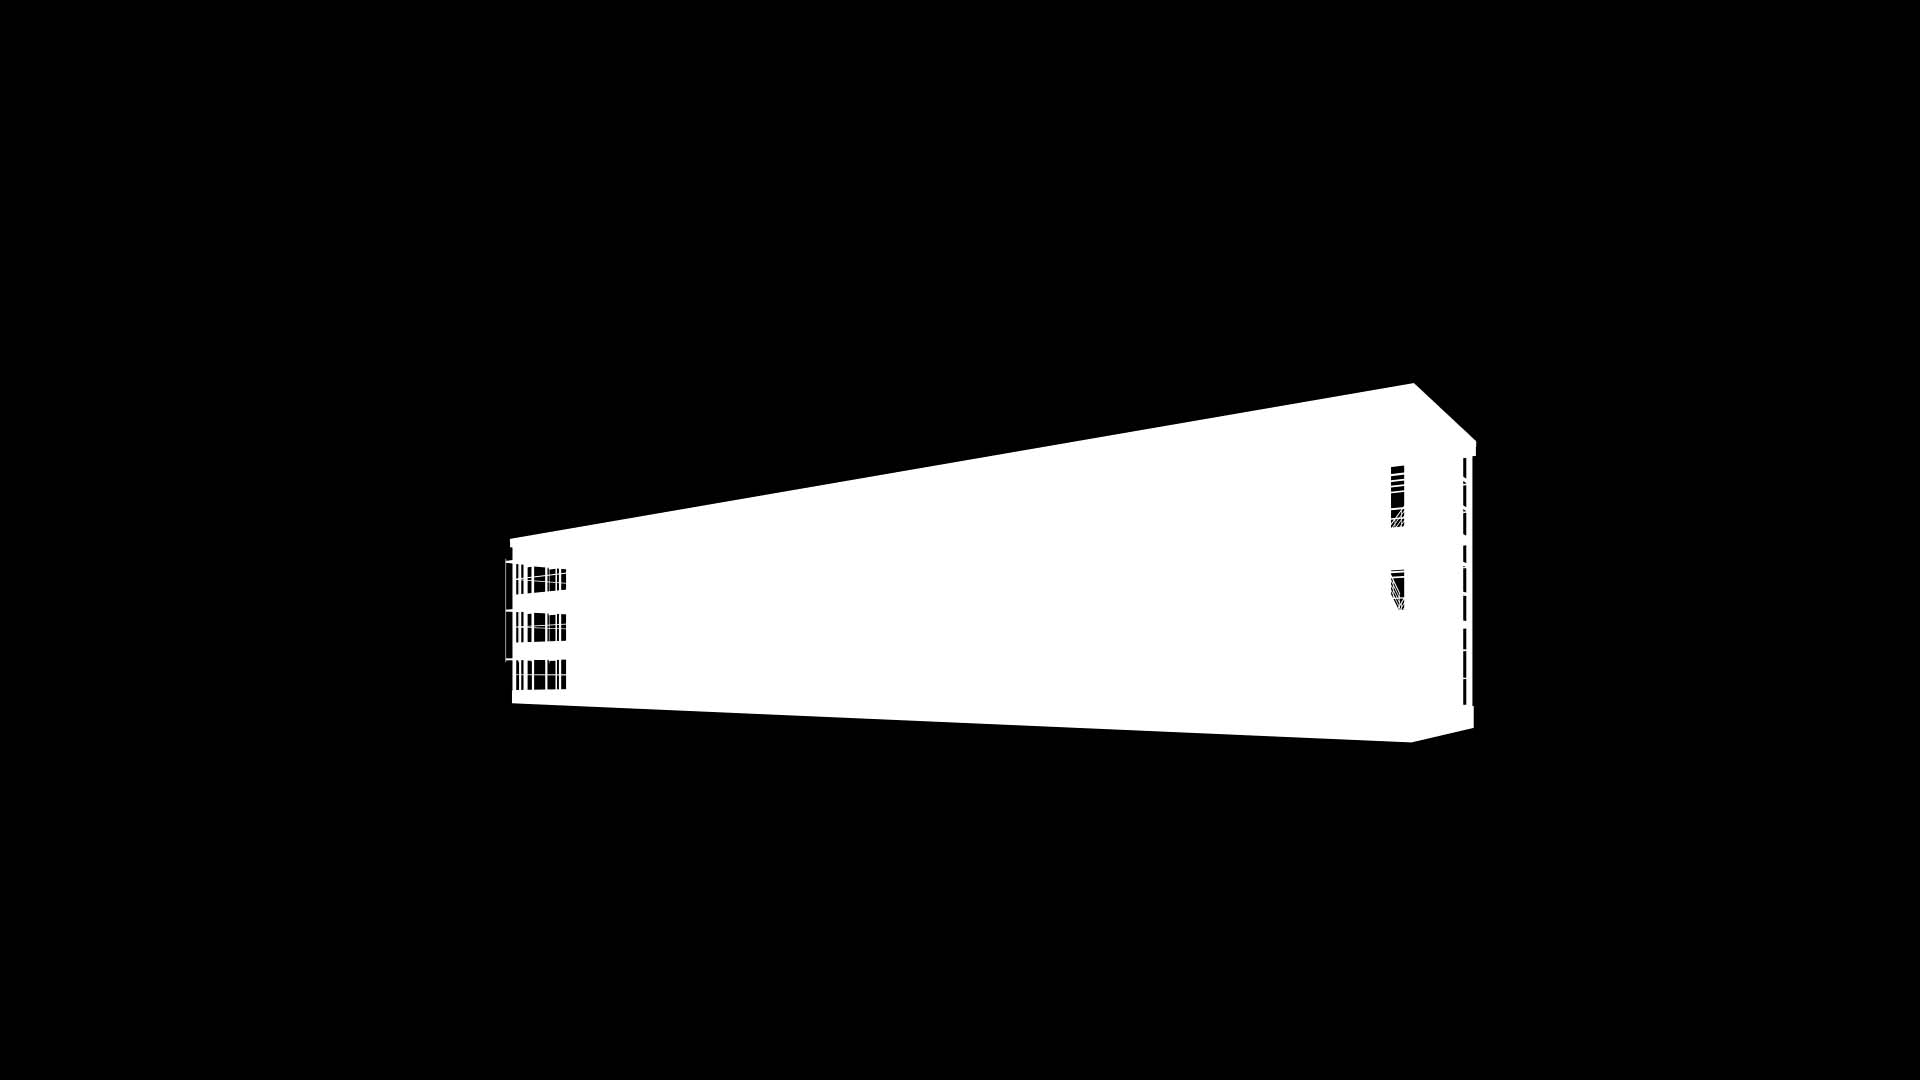
Exporting should produce two images. One is of the building & the alpha channel map.
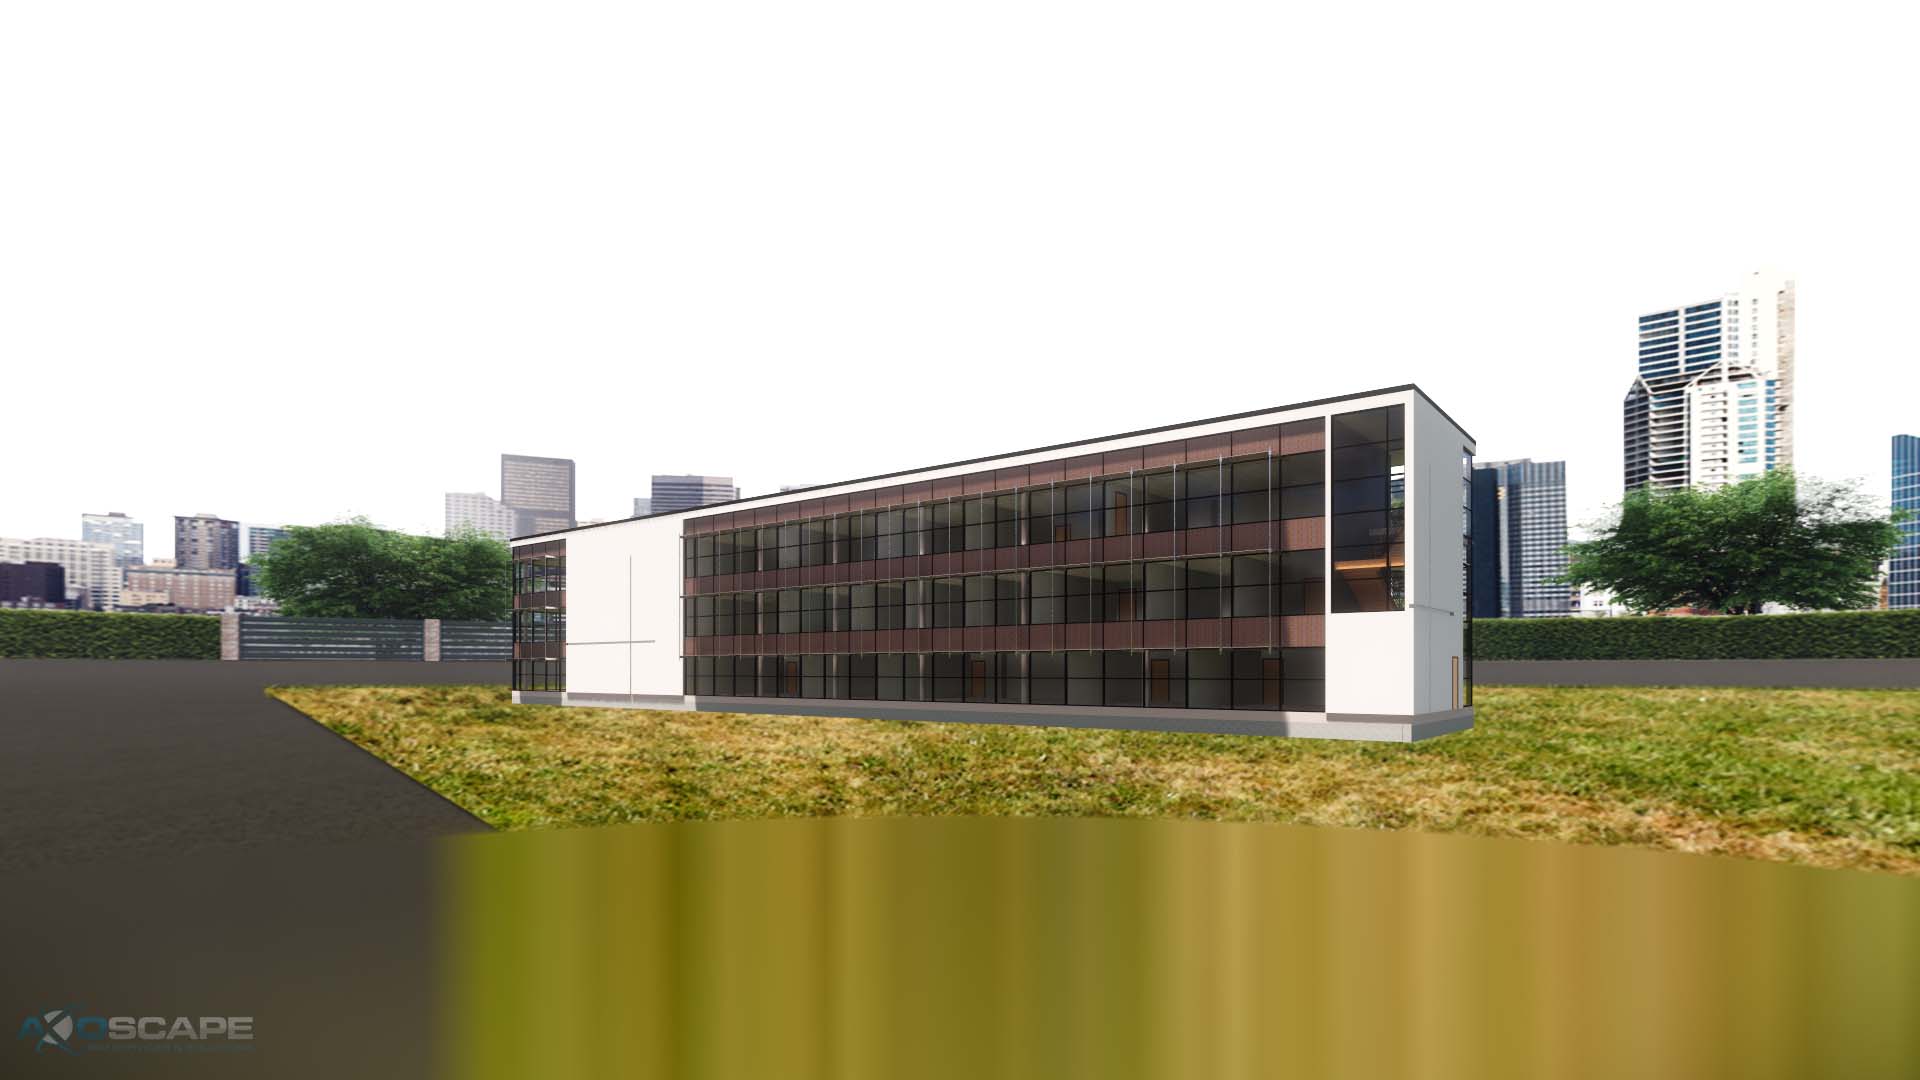
At the end of this workflow, you should have 2 Enscape images that fit the perspective of another photo that are ready for superimposing.
Thanks!!
You are very welcome! Hope it helps.